Manual
CV Builder Demo: Create your CV exactly how you want it
General Use
Introduction
CV-Template is designed to work as direct as possible. You directly work in the file and instantly see the changes you make. Once opened, the new CV has a default layout that can be fully customized. The common options will be described below; the general settings (eg color options, font-family, header/footer text/numbering and element titles) are described under ‘General Settings’. Element specific options are written in the ‘Element Settings’ header.
Edit text
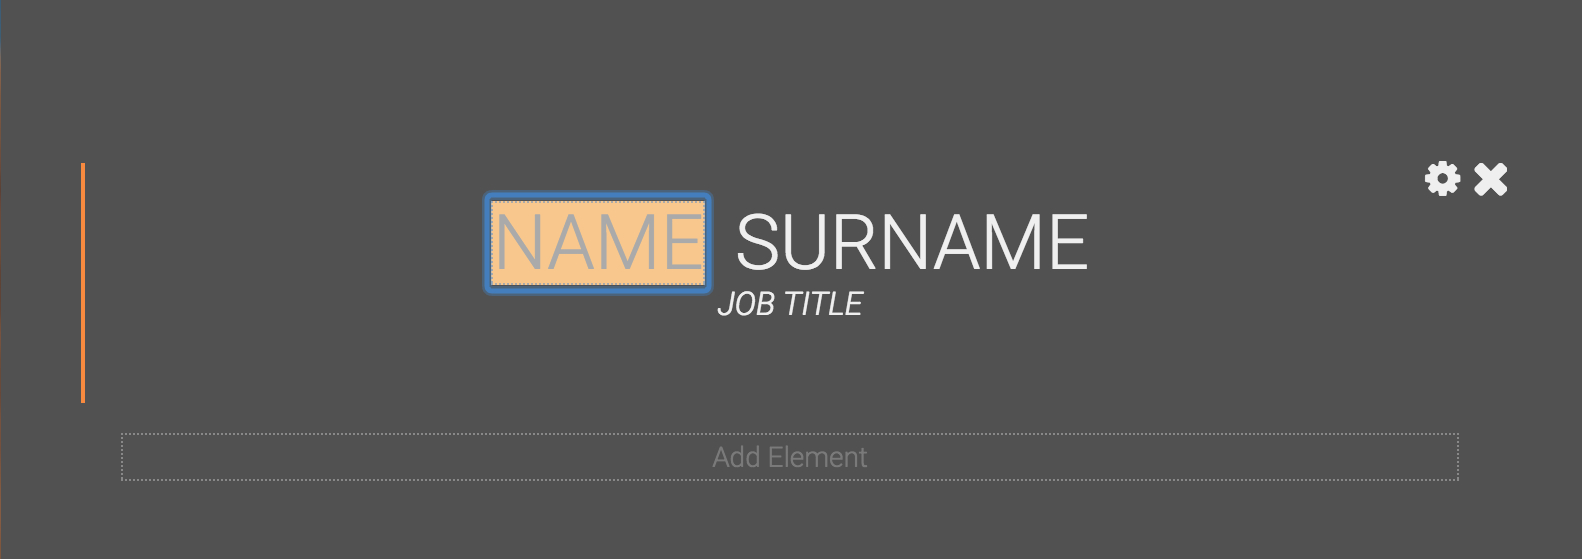
By clicking directly on the words, the system selects the appropriate field. You can edit the text immediately.
If you like to highlight words, you can realise this by selecting the words and selecting the ’B’ (bold) or ’U’ (underlined) in the appearing menu.
To remove this rich text, simply click on ‘remove all styles’.
By pressing the ’tab’ key you select the next field; alternatively, you can select another field by clicking on the desired text.
Add content
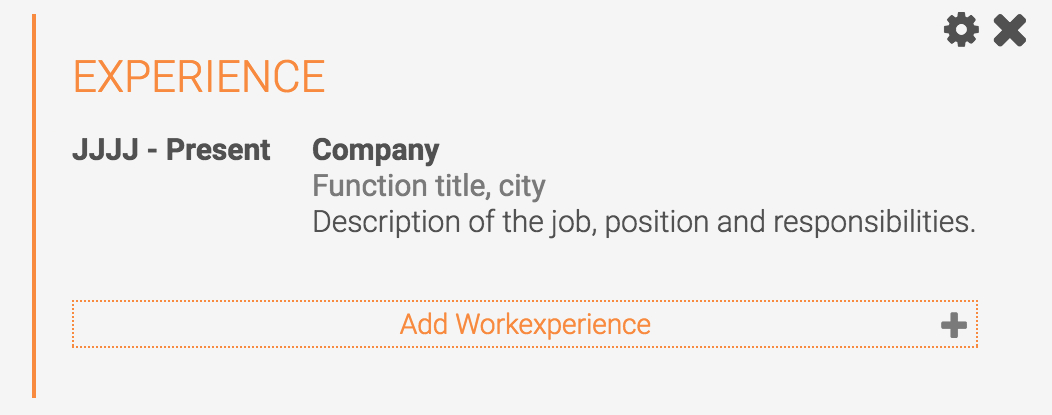
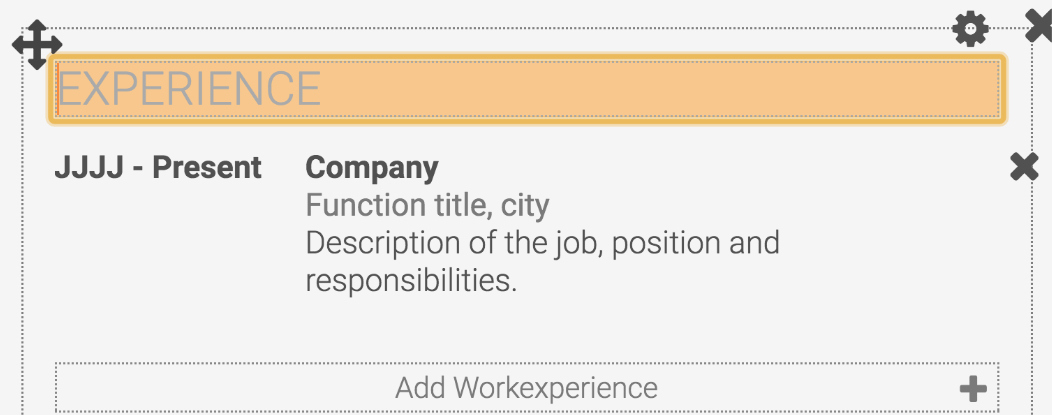
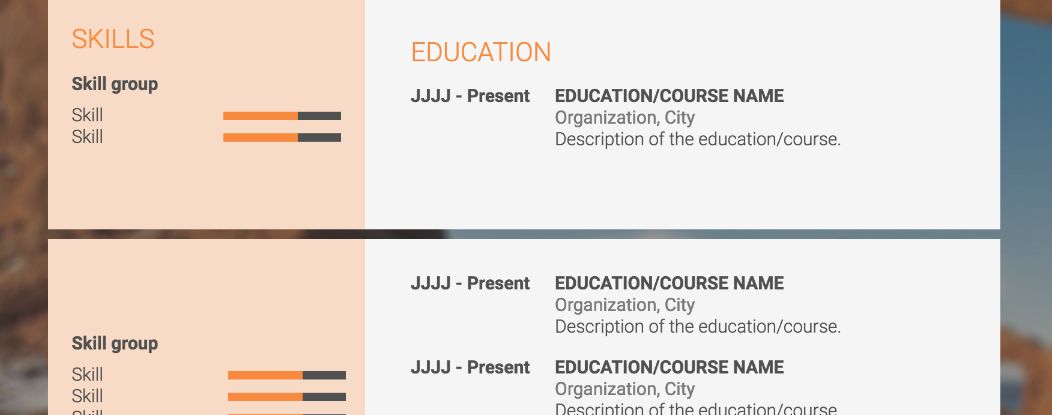
To add items (eg workexperiences, skills, educations), hover the element and simply press the ‘add ..-workexperience/skill/education-..’ at the bottom of the element. By pressing the ‘+’ at the right, you can choose to add multiple items at once.
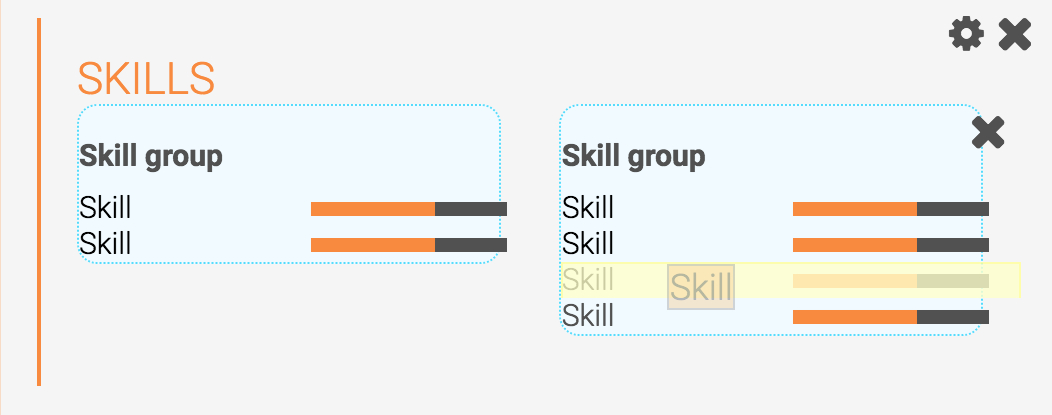
Some elements (skills) have the option of adding a new group (skill group). By clicking this area at the bottom of the element, the builder will add a new group with title where you can add the desired items.
Some elements (skills) have the option of adding a new group (skill group). By clicking this area at the bottom of the element, the builder will add a new group with title where you can add the desired items.
Remove content
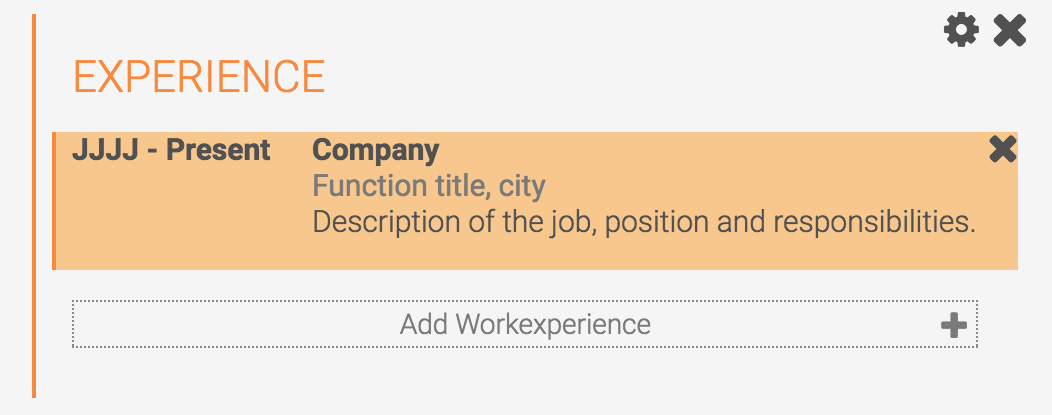
By hovering the element and clicking on the cross you can easily delete items (eg a workexperience, an education or a skill), a section/group (eg skill section), or a whole element
Hide fields
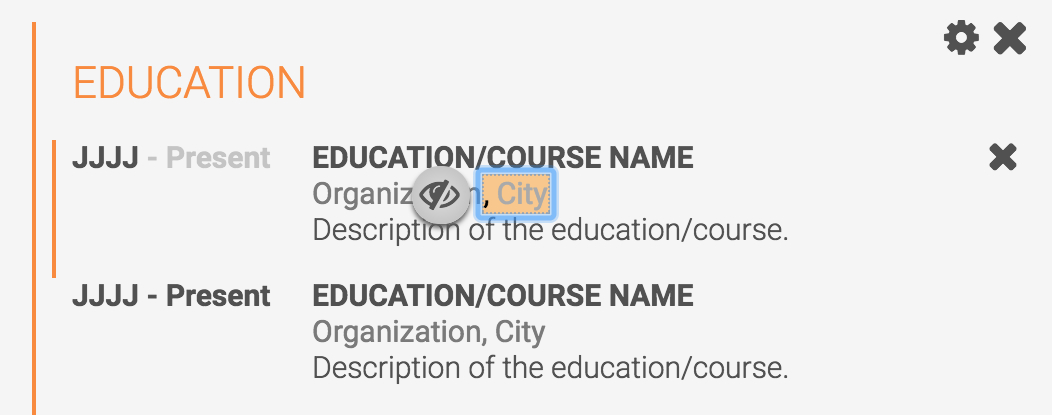
Fields are sometimes unnecessary (like for instance an end-year field with a single-year course). Besides hiding the field in general in the element settings, you can do the individually. Just click on the desired field and press the eye on the left. The field will be transparent and will be hidden in the download. To reverse the hidden status, just click again on the field and eye.
Change icon
Some elements have icons that can easily be changed by clicking on them. By selecting another icon in the appeared box, you instantly change the icon.
If the desired icon isn’t available, please check the font awesome icons. Contact us if they provide the option you are looking for. We are able then to add the icon to the list.
If the desired icon isn’t available, please check the font awesome icons. Contact us if they provide the option you are looking for. We are able then to add the icon to the list.
Switch Template in builder
Wondering how your CV will look in another design? By clicking the ‘switch template’ bar on the left side of the screen you can select other designs. All information of previous used templates will be saved; when you return to the original one, the template will be exactly like you left it (except textual changes you made when using another template).
Manage and duplicate CVs in your dashboard
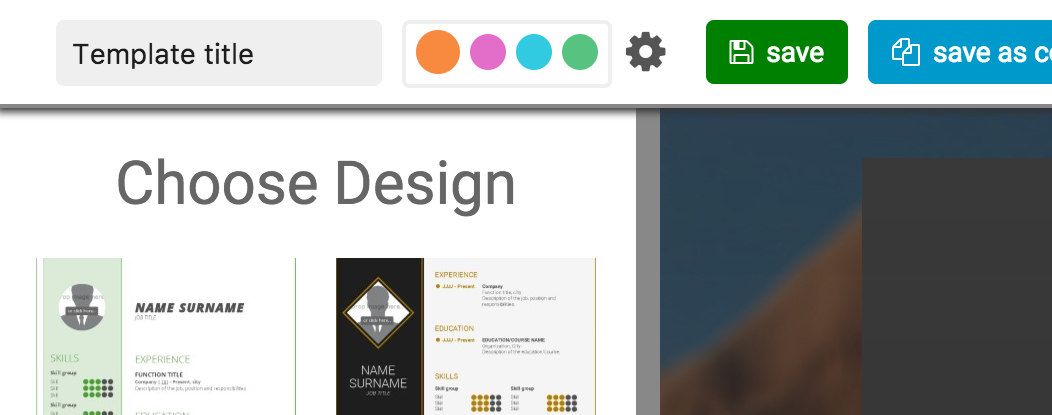
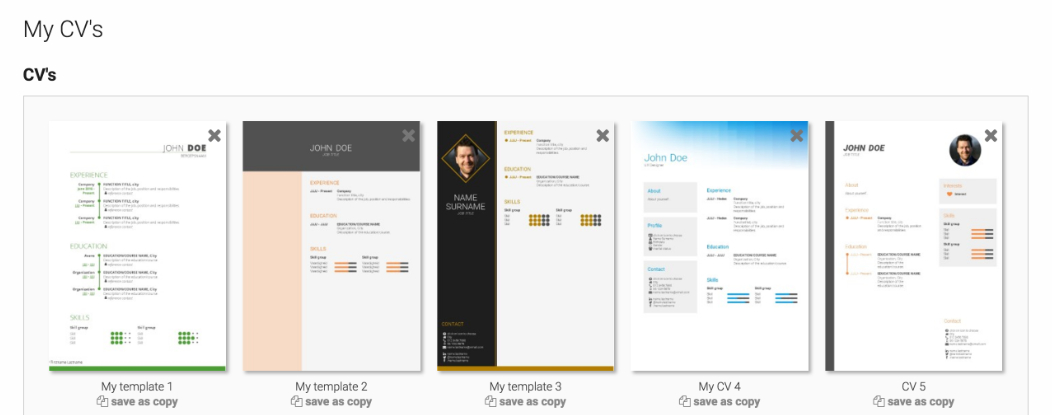
By clicking the ‘save’ button at the top of the page, the template will be saved. You will be asked to login or register when not authenticated. After registration, the template will be saved automatically in your created account and accessible in the ‘My CV’s’ overview that will be available in the menu. On the My CV’s page you may duplicate, delete or add new CV’s or Cover Letters.
Tip: Use the My CV’s page to create one default CV containing all information. Duplicate this CV and remove the not-desired information when you apply for a particular job.
Tip: Use the My CV’s page to create one default CV containing all information. Duplicate this CV and remove the not-desired information when you apply for a particular job.
Touch interface
The touch interface for tablets is very similar to the desktop (hover) interface. By pressing an element, all options will appear except dragging items within an element. The elements can be repositioned by touch-and-drag the move indicator at the top left of the selected element.
General Settings
Where to find them
The general settings are sticked to the top of the screen. Here you can change the CV/Cover Letter name and your choice of color easily. Moreover, you can access the general settings by clicking on the gear next to the color options.
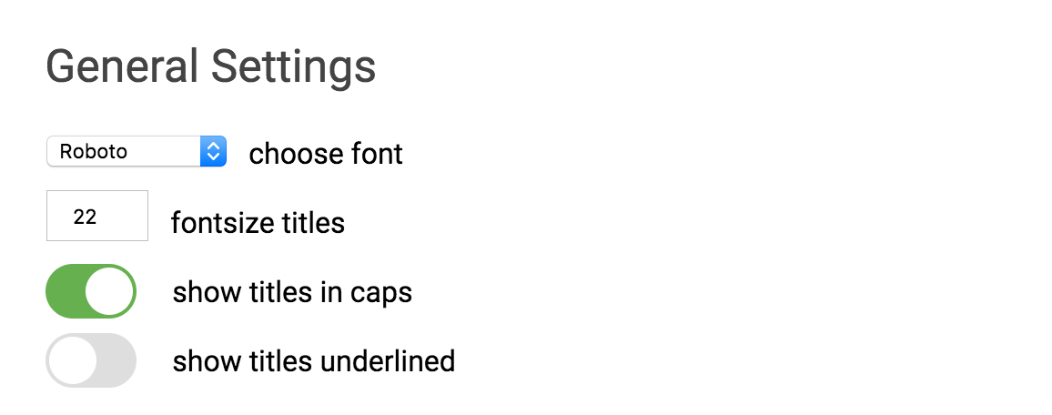
Change font and element title styles
After clicking the gear, the general settings tab will be opened at the bottom of the screen. You can easily change the font-family by clicking the font-family menu.
Moreover, you can change the element titles (switch from caps-lock to lowercase, change the element title size and add an underline if desired). All element titles will change instantly.
Moreover, you can change the element titles (switch from caps-lock to lowercase, change the element title size and add an underline if desired). All element titles will change instantly.
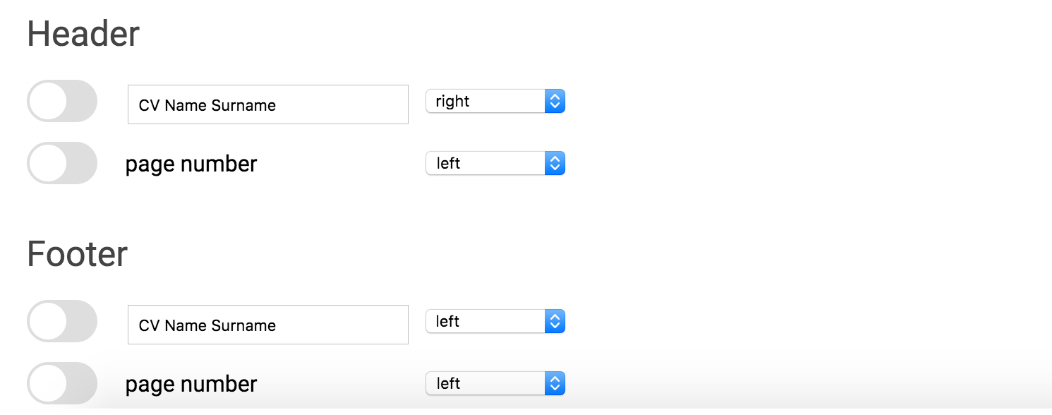
Header/Footer text and numbering
This general settings section also provides header/footer text and numbering options. By changing the text you instantly see the result (if the text is turned on); the position (left/right) can be changed in the position menu.
Elements
We have investigated numerous types of information on CV\’s and designed many elements to ensure the desired options are available.
Please contact us if you have a request.
Please contact us if you have a request.
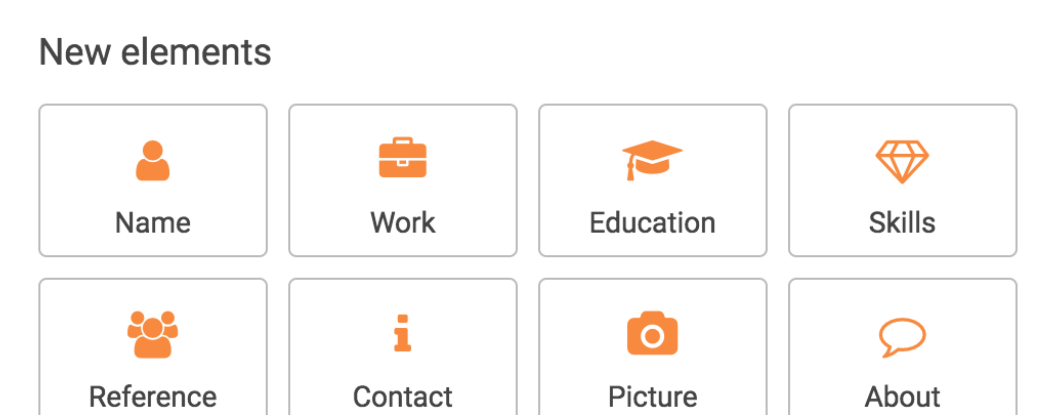
Add new Element
Every template contains one or more (invisible) area’s where elements can be added. By clicking on ‘add element’ a list of available elements will appear where you can select the desired option. Moreover, deleted elements will be available at the top under ‘existing elements’; when switching from template you can add these elements containing the already existing information.
Element break behaviour
Every template contains one or more (invisible) area’s containing the elements. When area’s collapse with each other or with the bottom or top of a page, collapsing elements will be assigned to the same area of the next page or split themselves and continue on the next page if possible. If not desired, you can drag the element to the next page or rearrange the elements (continue to read for a description).
Re-order elements
Elements can be dragged to another area by hovering over them and selecting the left border that appears during the hover. While hovering this border, the border will turn thick and the element background will change color. By clicking (keep the mouse down!) you can drag the element to the desired area and order. By dragging over another element, the order will change. By dragging the element to the top or bottom, the builder will automatically scroll up/down so you can access other pages.
Element Settings
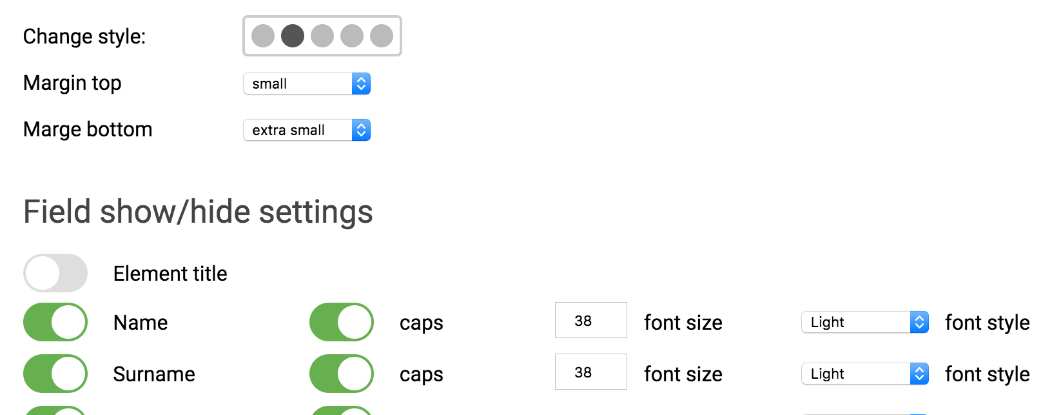
By clicking the gear that appears at the top right of the element while hovering, you can access the element settings. Here you can manage the following options:
- White space at the top and bottom of the element by selecting the different sizes in the menu
- Element style by selecting the dots
- Enable/disable fields and style (caps-lock-lowercase, letter size and font-family)